Please select an article from the left menu to display its content.
DMS (Distribution Management System) is LogixFlow's last-mile delivery module. It covers the full lifecycle of a delivery job: registering shipments, planning and allocating them to vehicles and drivers, automating routine reactions to shipment events, and defining the allocation policies those automations and planners follow. This article is a map of the module — use it to find the right screen for what you're trying to do.
Getting to DMS
- In the left sidebar, click DMS. A popup opens with the DMS screens.
- Click any item to open that screen.
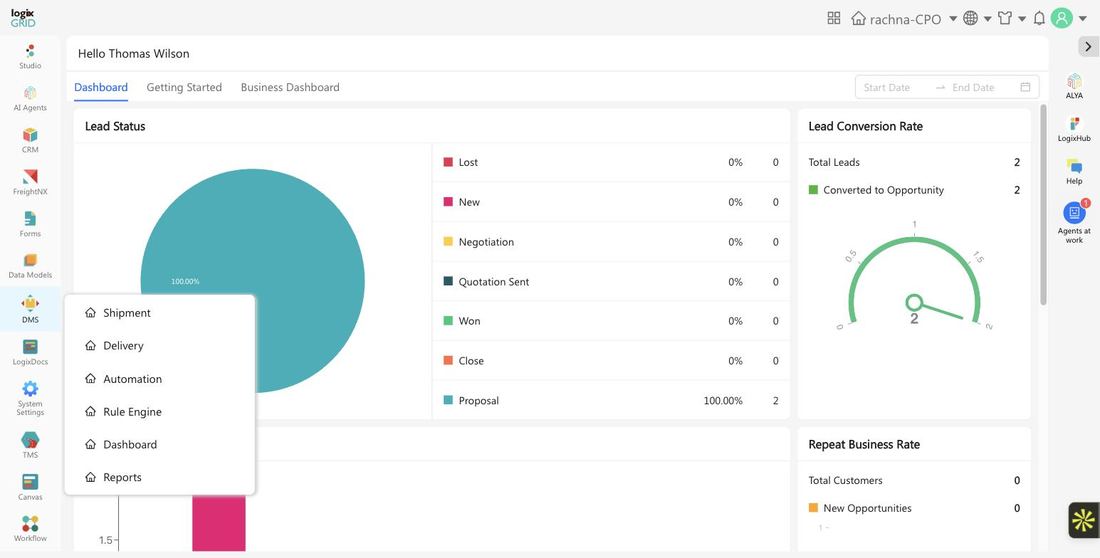
| Screen | What it's for |
|---|---|
| Shipment | Register deliveries in the system, one at a time or in bulk from an Excel file. This is where every DMS delivery job starts. |
| Delivery | Plan the shipment pool on a map, select shipments, and assign them to vehicles and drivers — manually or with an allocation rule applied. |
| Automation | Set up rules that react automatically to shipment events, such as sending an email when a status changes. |
| Rule Engine | Define IF/THEN allocation policies — which vehicles and drivers qualify for which shipments — that planners can apply on the Delivery screen. |
| Dashboard | A summary view of delivery activity for your organization. |
| Reports | Reporting and analytics across your DMS shipments and deliveries. |
The typical workflow
Most teams move through DMS in this order:
- Register shipments. On the Shipment screen, add jobs one at a time through a form, or upload a batch from Excel.
- Plan and allocate. On the Delivery screen, select shipments from the pool and assign them to a vehicle and driver, or let the system suggest vehicles based on weight and stop count.
- Apply allocation policy (optional). If your organization has consistent rules for which vehicles handle which shipments — by postal code, delivery type, or service level — define them once in Rule Engine, then select that rule when assigning deliveries.
- Automate routine reactions (optional). Use Automation to have DMS act on its own when a shipment is created, its status changes, a column value changes, or it's assigned — for example, notifying a customer automatically.
- Review. Use Dashboard and Reports to monitor delivery activity across your organization.
Good to know: "Shipment," "Delivery," and "Rule Engine" also exist as separate concepts in other LogixFlow modules — FreightNX, TMS, and Studio each have their own screens with similar names but different purposes. This guide, and the DMS screens it links to, only cover the DMS module (URLs starting with /dms).